Reasons to choose air fryer duck breast
Cooking duck breast ensures the skin becomes incredibly golden and crisp. The circulating heat cooks the meat evenly without making it dry. It is also a cleaner method as the basket catches most of the fat. You can easily check the progress without losing too much heat.
How to get air fryer duck breast ready
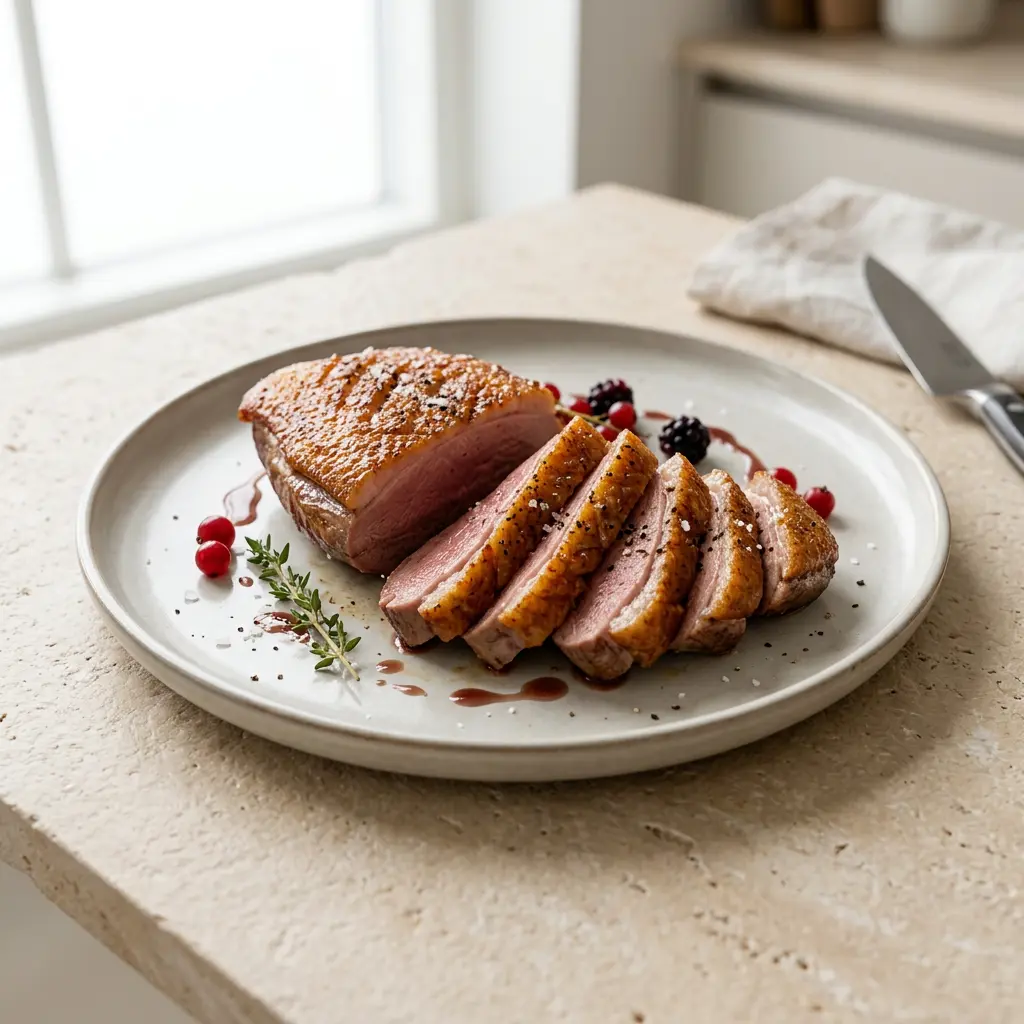
Preparation: Use a sharp knife to score the skin of the duck in a diamond pattern. Be careful not to cut into the meat. Pat the skin dry with paper towels to help it get crispy. Season both sides with plenty of salt and pepper.
Cooking: Place the duck in the basket with the skin side facing down. Set the temperature to 200 degrees and cook for 8 minutes. This helps the fat melt away from the skin. There is no need to add any extra oil to the basket.
Finishing: Turn the meat over so the skin side is now facing up. Cook for another 5 to 7 minutes depending on how pink you like the meat. Check that the skin is golden and very crisp before removing it. Use tongs to handle the meat safely.
Resting: Remove the duck breast from the basket and place it on a board. Let the meat rest for at least 5 minutes before slicing. This allows the juices to settle so the meat stays moist. Slice into thick pieces and serve immediately.
Good advice for air fryer duck breast
Always start with room temperature meat to ensure even cooking throughout. Scoring the skin is essential for letting the fat escape and creating a crunch. If you prefer your meat well done, simply add two extra minutes to the final cooking time. Make sure not to overcrowd the basket so the air can circulate freely around the duck breast.
Save the rendered fat from the bottom of the basket for roasting potatoes later. Using a meat thermometer can help you reach the perfect internal temperature every time. Let the meat rest fully so you do not lose any of the flavour when slicing.
If you enjoyed this recipe, you might also try
air fryer waffles,
air fryer fish and chips or
air fryer crispy tofu.