Why air fryer risotto is a good choice
Cooking risotto saves you from standing over a hot stove for thirty minutes. The circulating heat ensures the rice cooks evenly in the hot stock. You still get that signature creamy texture without the usual manual labour. It is an efficient way to prepare a side dish or a main course.
Follow these simple steps for air fryer risotto
Preparation: Finely chop the onion and mince the garlic. Place the arborio rice, onion, garlic, and hot vegetable stock into an safe dish. Stir the ingredients together once to ensure everything is combined.
Cooking: Place the dish into the basket. Cook at 180C for about 20 minutes. Open the basket halfway through and stir the rice to help release the starch.
Finishing: Check if the rice is tender and the liquid is mostly absorbed. Stir in the cold butter, grated parmesan, and frozen peas. The heat from the rice will melt the cheese and warm the peas through.
Serving: Let the dish sit for two minutes to thicken up. Season with salt and pepper to your taste. Serve the rice immediately while it is hot and creamy.
Good advice for air fryer risotto
Always use hot stock when starting your risotto to help the rice cook faster. If the rice is still too firm after the initial cooking time, add a splash more stock and cook for five more minutes. You can add different vegetables like mushrooms or spinach depending on what you have in the fridge. Stirring halfway through is an essential step to achieve a creamy consistency.
Make sure your baking dish fits comfortably in the basket with enough space for air to circulate. If you prefer a richer flavour, you can replace a small amount of stock with white wine. Grating your own parmesan cheese will result in a smoother melt than using pre-grated options.
For a little more variety, you can also try
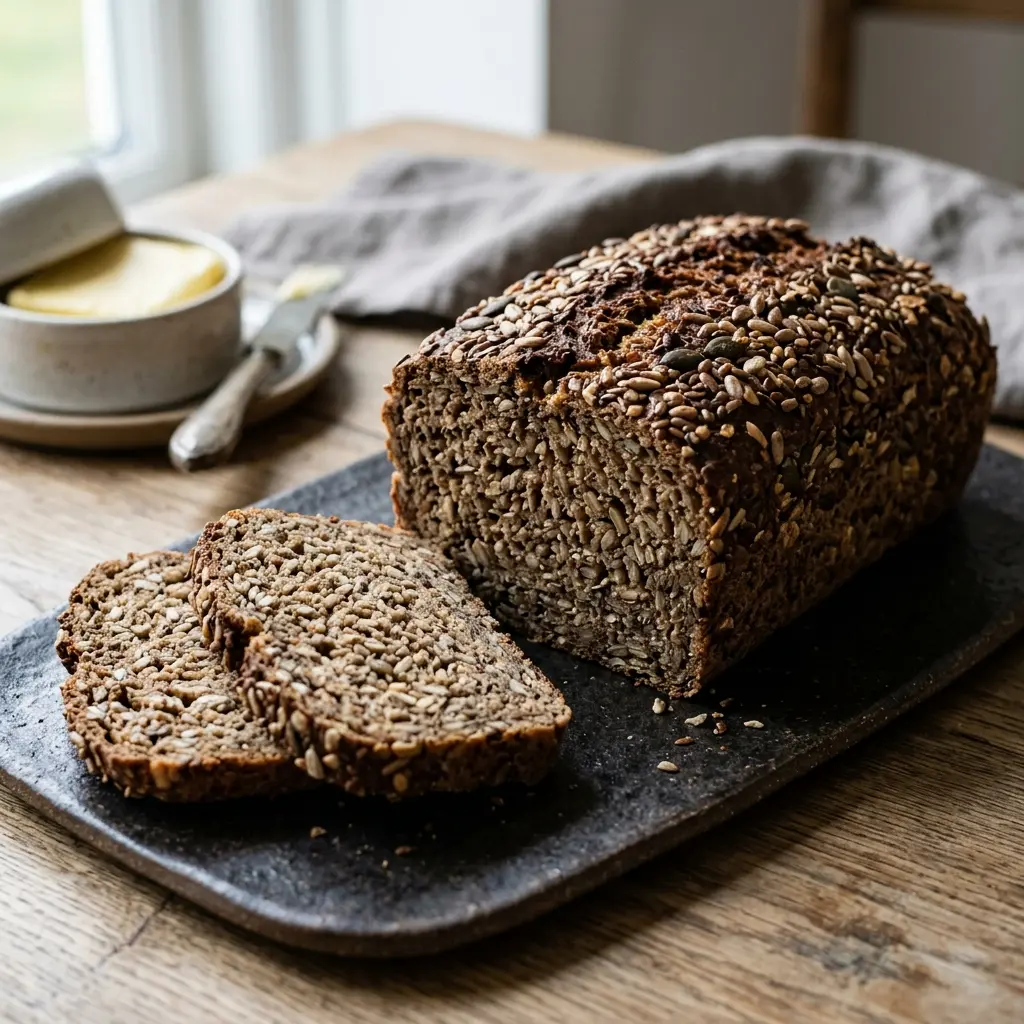
air fryer frozen bread rolls,
air fryer broccoli or
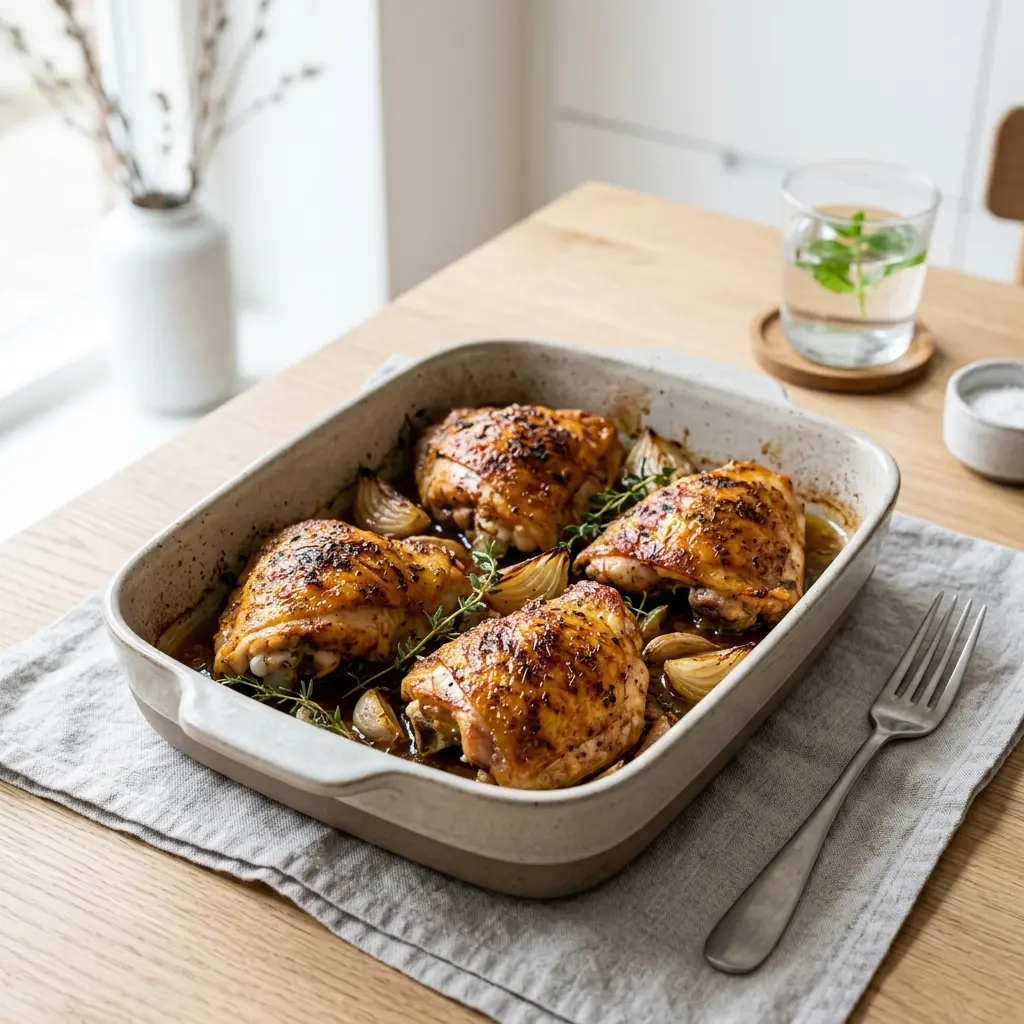
air fryer chicken thighs.