Why you should try ice cream cake
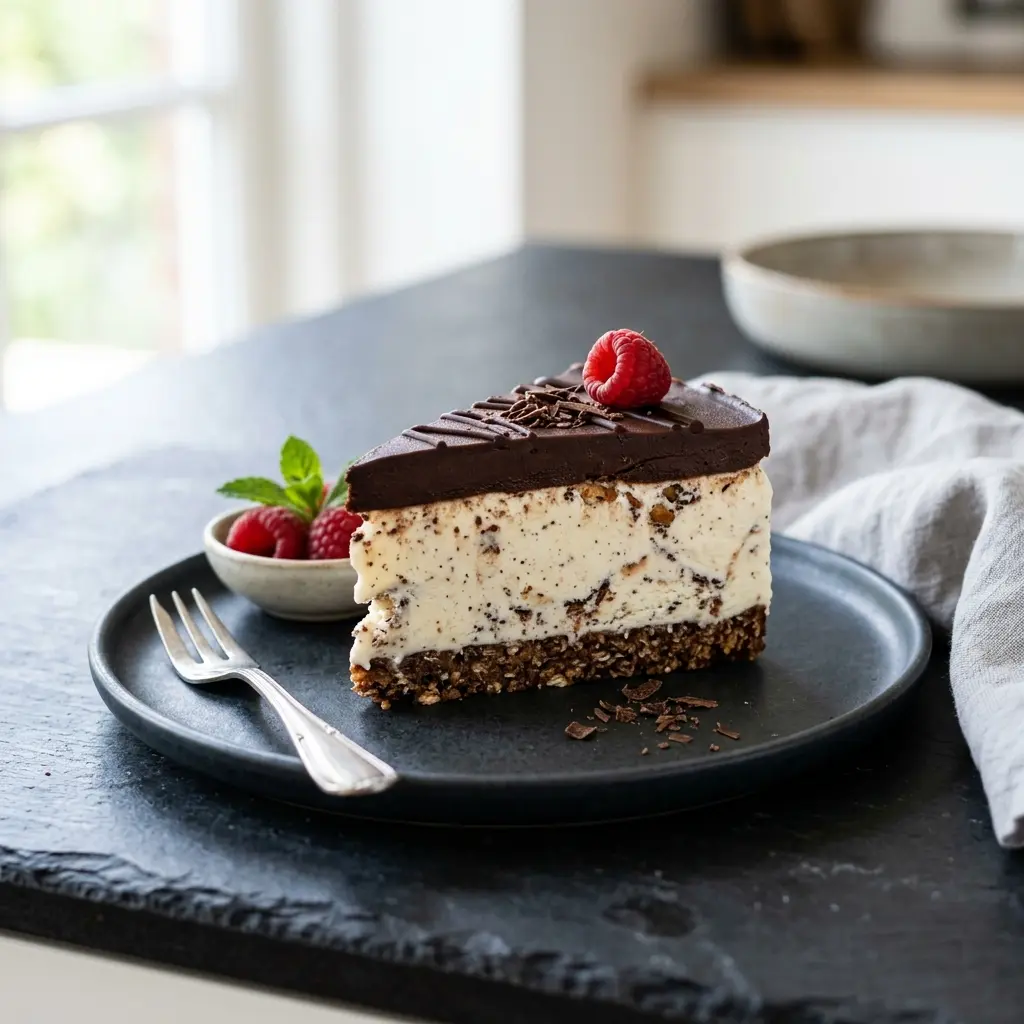
Making an Ice Cream Cake at home allows you to control the quality of the ingredients and the balance of flavours. It is much more cost effective than buying a pre-made version from a shop. The texture of the homemade base provides a nice contrast to the soft filling. Everyone enjoys a frozen treat that looks impressive but takes very little effort to assemble.
Follow these 4 steps for ice cream cake
Prepare base: Crush the biscuits in a food processor until they look like fine crumbs. Mix the crumbs with melted butter in a small bowl until combined. Press the mixture firmly into the bottom of a lined springform tin to create an even layer. Place the tin in the freezer for fifteen minutes to set the base.
First layer: Take the vanilla ice cream out of the freezer for a few minutes to soften slightly. Spread the softened ice cream over the chilled biscuit base using a large spoon. Smooth the top so it is flat and return the tin to the freezer for one hour. This ensures the layers stay separate and do not mix together.
Second layer: Repeat the softening process with the strawberry ice cream until it is easy to spread. Layer the strawberry ice cream on top of the frozen vanilla section. Smooth the surface again and put the tin back in the freezer for at least four hours. The Ice Cream Cake needs this time to become completely firm before serving.
Decorate and serve: Remove the cake from the freezer and carefully run a warm knife around the edge to release it from the tin. Drizzle the chocolate sauce over the top in a decorative pattern. Add the sprinkles while the sauce is still wet so they stick. Slice the dessert into wedges and serve immediately while it is cold.
Good advice for making ice cream cake
Always leave the ice cream on the counter for ten minutes before you try to spread it. If the ice cream is too hard it will pull up the biscuit base and make the layers look messy. You can use different biscuit types like digestive biscuits or ginger nuts for a different flavour profile. Ensure the tin is lined well with parchment paper to make the removal process easier.
Using high quality ice cream will result in a much better Ice Cream Cake with a creamier texture. You can add chopped nuts or fruit between the layers if you want more variety. Keep the serving plates in the freezer for a few minutes so the cake does not melt too quickly once served.
You may also like
pickled red onion,
plaice stuffed with spinach or
worcestershire sauce.