Root Vegetable Crisps
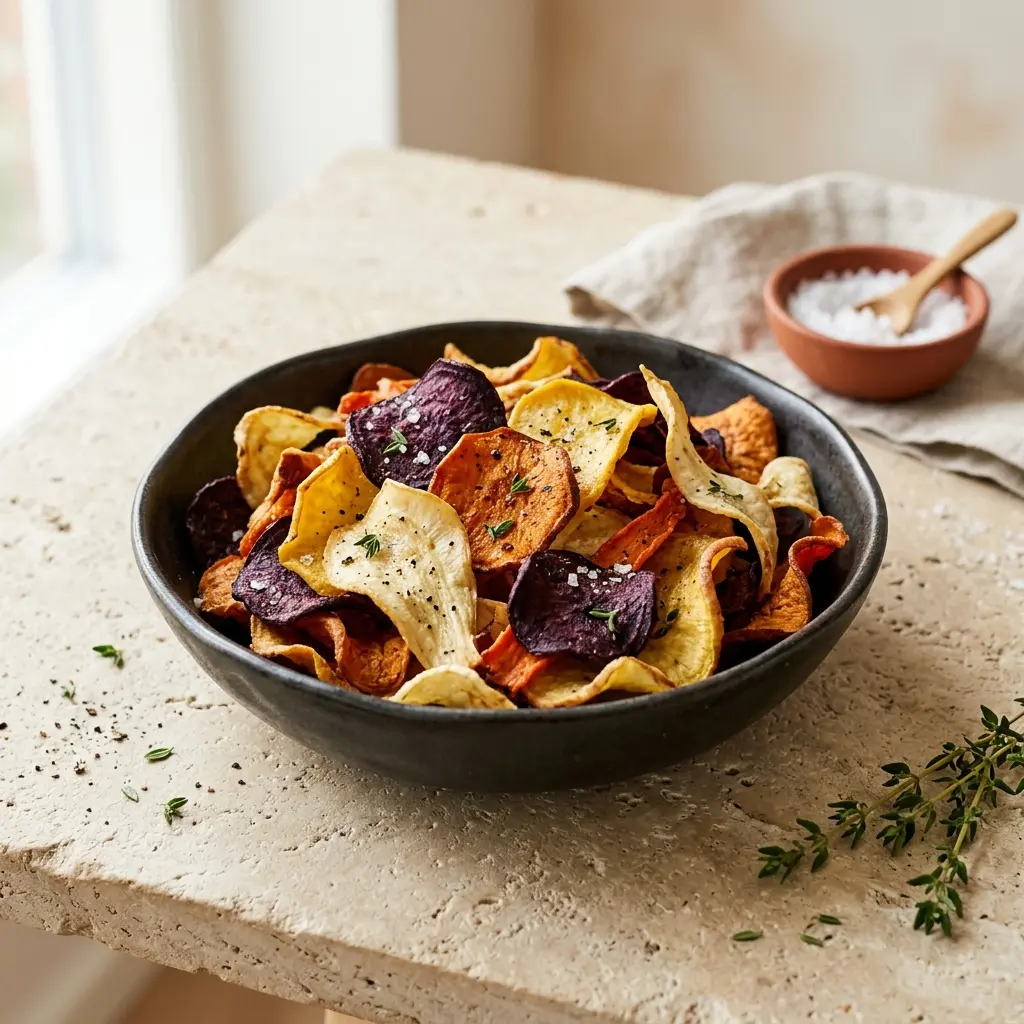
Root vegetable crisps made with carrots, parsnips and beetroot look as good as they taste, with sweet, earthy flavours and a colourful pile of crunchy curls. The trick is very thin, very dry slices and a low oven, so they dry out and crisp up instead of turning chewy. Allow about an hour from peeling to eating, most of which is hands-off baking and cooling.
- Total
- 55 min
- Prep
- 15 min
- Cook
- 30 min
- Serves
- 4
- Per serving
- 130kcal
Getting the slices right for root vegetable crisps
Thickness decides everything. Aim for slices about 2mm thick, roughly the thickness of a pound coin. Thinner burns before the centre dries, and thicker stays leathery. A mandoline gives the most even result, but always use the hand guard. Pat the slices dry before adding the oil, as any water on the surface turns to steam in the oven.
Preparing root vegetable crisps
Tap a time to start a timer.
- Heat the oven Preheat the oven to 150°C (130°C fan), gas 2. Line two large baking trays with baking paper.
- Slice thinly Peel the vegetables and cut the woody core out of any thick parsnips. Slice everything about 2mm thick using a mandoline with the hand guard on, or a very sharp knife. Keep the beetroot slices in a separate pile, because they stain the others.
- Dry the slices Spread the slices out on a clean tea towel, cover with a second towel and press down firmly. Wet slices steam rather than crisp, so be thorough.
- Oil and season Toss the carrots and parsnips with 1½ tbsp of the oil and the salt in a bowl, using your hands to coat every slice lightly. Do the beetroot with the remaining oil in a separate bowl.
- Bake Spread the slices in a single layer on the trays, with no overlapping, keeping the beetroot on its own tray if you can. Bake for , swapping the trays and turning the slices after , until the edges curl and the slices are dry and lightly golden. Take out any that are ready early.
- Cool Leave the crisps on the trays for . They crisp up as they cool, so judge them then, not straight from the oven.
Flavour ideas and serving
Plain salt is hard to beat, but you can toss the slices with ½ tsp smoked paprika or a few thyme leaves along with the salt. Serve them in a big bowl as a snack, or pile a handful on top of soup. For a nibbles board, add marinated olives and air fryer rye bread crisps. If you would rather have the classic, try potato crisps.
Common problems and fixes for Root Vegetable Crisps
- Some crisps are chewy while others are burnt.
- The slices were different thicknesses. Use a mandoline for even 2mm slices, and remove the thinnest from the tray as they colour, while the thicker ones carry on baking.
- The crisps stay soft after cooling.
- They were too damp or still need more time. Return them to the oven at the same temperature for 5 more minutes, then cool again.
- The beetroot turns the carrots and parsnips pink.
- Slice, oil and bake the beetroot separately from the paler roots, and wash your hands before handling the others.
Frequently asked questions about Root Vegetable Crisps
How long do homemade root vegetable crisps keep?
Up to 2 days in an airtight container once fully cool. After that they start to soften, so they are at their best on the day you make them.
Which vegetables make the best crisps?
Carrots, parsnips and beetroot are the classic mix. Sweet potato and celeriac also work, but they cook at slightly different speeds, so bake each on its own tray.
Can I make them in an air fryer?
Yes, in small batches. Cook one layer at 160°C for 8–12 minutes, shaking every few minutes and taking out the thin slices as they crisp.
Do I need to soak the slices first?
Not for this recipe. Pat the slices thoroughly dry instead, which gives you the crunch without an extra step.
How did you like the recipe?
4.8 / 5 · 47 ratings